Hearth and Hamlet Tips and Tricks
Launch-week habits that keep food, research, and guards ahead of the next town square.
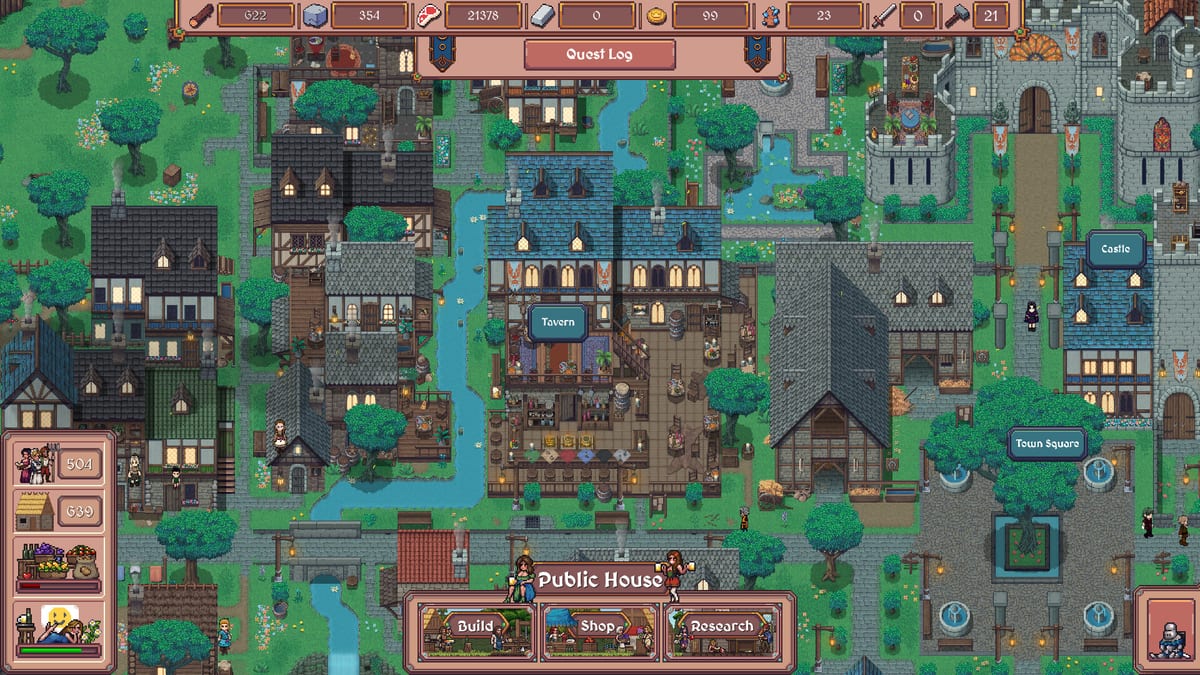
These Hearth and Hamlet tips are for the shipped Steam build (August 19, 2026), not for a wishlist fantasy. They combine official store systems with launch-day walkthrough habits: the blue helper arrow, equal worker splits, research before vanity upgrades, iron and fishing huts before the next town square, and training soldiers the moment town guards exist. Pair this page with Getting Started and the longer Walkthrough.
The game is a single-player incremental citybuilder. You can hold the mouse to gather at full speed, then hand the loop to workers. Tips below assume Windows or Linux/SteamOS, not a secret mobile port.
Follow the blue arrow (then hide it)
Early on, a blue arrow points at the next structure or facility the tutorial wants. Build those nodes first so food, wood, and the first workplaces actually exist. The arrow is not a late-game oracle — it is an onboarding rail. Demo v1.0.46 added an option to hide helper arrows once you know the map. Use that when the arrow starts nagging about a building you are deliberately delaying for research.
If the arrow and your stockpiles disagree, trust the stockpiles. An arrow toward a 12,000-wood lumber upgrade while your people are starving is a suggestion, not a law.
Hold-click, then stop clicking
Hold LMB (or Space, see Controls) to gather at maximum speed in the first minutes. The moment a spare worker appears, assign them. Clicking forever after automation exists is the most expensive beginner mistake. Your job becomes assignment, research, and town-square timing — not a fitness test for the mouse.
Food drains fast while population is tiny and fishing is locked. Sit on food until the meter is stable, then cut wood for the camp upgrade that unlocks fishing. That two-step is the whole opening.
Split workers — then dump them on a deficit
A clean default once four jobs exist: split labor roughly equally across food, wood, stone, and iron. When a single building or camp upgrade is blocked on one resource, move the entire workforce onto that resource until the buy fires, then rebalance. That dump-and-return pattern is faster than waiting for a 25% crew to drip the last 40 stone.
Do not leave iron miners idle “for later” while the quarry is starving a wall. Do not leave four hunters running when fishing already outpaces them. Worker Planner and Workers Tier List exist for the spreadsheet version of this tip.
Research before the pretty hut
Before you pump the fishing hut (or any single workplace) through extra upgrade tiers, spend research that grants extra workers or resource-per-second. Those buffs keep paying after the hut is maxed. Launch guides that skip research to rush a dock look busy and then stall. Research Priority is the ordered version; this tip is the attitude: multipliers before cosmetics.
Advisor research from the Leader’s Hut / Manor (Demo v1.0.46) is quality-of-life. Take it when the hut exists; it is not a substitute for food tech.
Town square last among production buildings
The camp becomes a town square through staged upgrades. The efficient habit: upgrade fishing, quarry, lumber, and iron mining at least once before you buy the next square level. Those workplace upgrades raise storage caps and output together. Buying the square first can dump you into a bigger population with the same fragile income.
Public house (happiness + food storage + unlocks) and chief’s house (quarry, hunting, carpenter, stone jobs) are the civic beats in between. Costs in the hundreds of food/wood/stone are normal; if you cannot afford them, you skipped the fishing unlock.
Food chain: hunt, fish, farm
Hunting is fine while the forest is full and the population is small. Fishing becomes the better mid staple after docks exist. Farms are the long-term answer and they are expensive on purpose — you are choosing between a slow food engine and spending the same pile on walls or academies. Reviews of the shipped game keep repeating that food is the interesting constraint, not wood. Believe them. Resources explains storage caps that look like “production stopped.”
Guards are not optional flavor
The moment town guards unlock, start training soldiers. Upkeep looks scary; a raid looks worse. Full-release combat still uses stolen resources and production penalties on defeat rather than deleting the save — but Flawless Victory and your happiness bar still care. Defend Raids is the dedicated page; this tip is the timing: do not wait for the first skeleton on the road.
Gold, markets, and magic
Gold is not a first-hour resource. Unlock it, then spend on research and trade rather than vanity. If the market “does nothing,” you probably lack the unlock, workers, or goods — How to Get Gold. Magic and mana arrive as a second economy; Magic and the wizard achievements are mid-game, not a skip button.
Hide the UI with Shift+F11 when you want to watch the pixel town. If the game will not boot, that is not a tip — that is Troubleshooting.
Keep the blue arrow for the first session, research before hut spam, dump workers on the blocking resource, upgrade production before the next square, and staff guards on unlock. That is the whole launch-week playbook.
Frequently Asked Questions
Quick answers to the most common questions.
Should I follow the blue arrow all game?
Follow it in the first hour, then hide helper arrows if the option is on. Trust stockpiles over the arrow when food is dying.
When do I upgrade the town square?
After fishing, quarry, lumber, and iron have at least one upgrade, unless a quest hard-gates the square.
Equal workers on every job forever?
No. Equal is the idle default. Dump everyone onto the resource that blocks the next building, then split again.
When do I train soldiers?
As soon as the town guards building unlocks. Upkeep is cheaper than a raid penalty.